
Crafting armor from EVA foam is a rewarding and creative process, but like any hands-on skill, it comes with its share of common mistakes — especially for beginners. Knowing what to avoid can save you time, materials, and frustration. Here’s a list of frequent pitfalls in foam armor making and how to sidestep them.
- Skipping the Patterning Stage
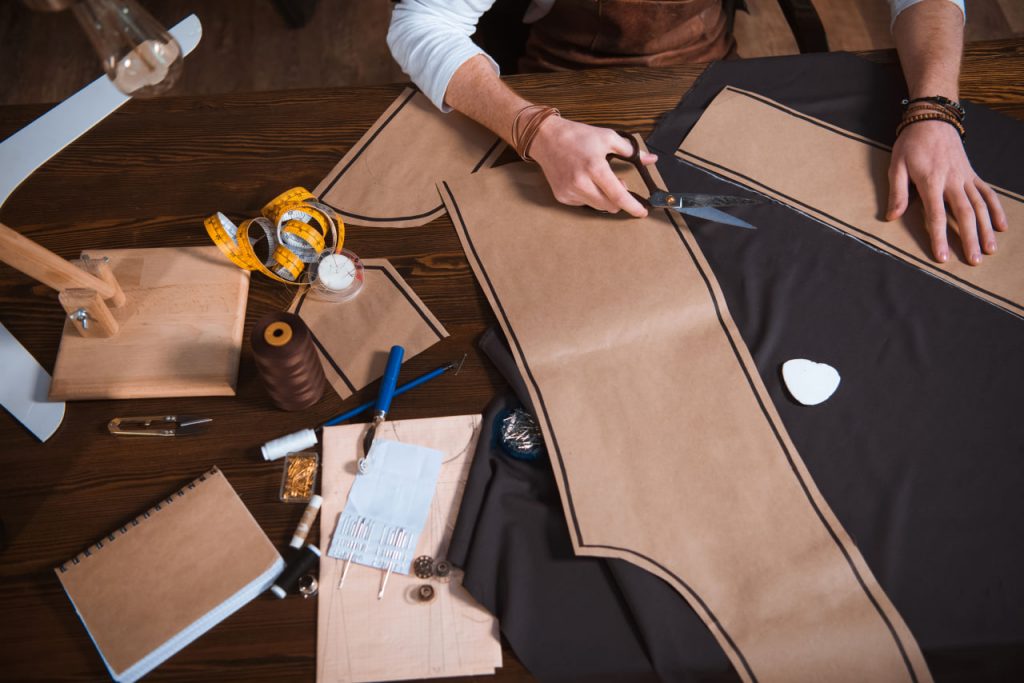
One of the most frequent mistakes is cutting foam without a proper template or pattern. This leads to misshapen or poorly fitting pieces.
How to avoid: Always start with a paper or cardstock pattern. Use reference photos, printable templates, or mockups made with scrap materials to ensure your design fits your body properly before cutting into foam.
- Using the Wrong Type or Thickness of Foam
Not all foam is created equal. Craft foam from a dollar store might be too thin or low-density to hold its shape in armor applications.
How to avoid: Use high-density EVA foam, ideally 5–10 mm thick for most armor pieces. Thinner foam can be used for details, while thicker foam works well for structural components like chestplates or helmets.
- Poor Cutting Technique
Rough edges, jagged lines, or angled cuts can make pieces difficult to assemble cleanly.
How to avoid: Always use a sharp utility knife and cut at a straight, consistent angle. Replace your blade frequently and use a metal ruler for straight lines. Consider cutting in multiple passes rather than forcing a deep cut in one go.
- Not Sealing the Foam Before Painting
Foam is porous and will absorb paint unevenly, leading to blotchy finishes.
How to avoid: Seal your foam first. Common methods include heat-sealing with a heat gun, then applying coatings like Mod Podge, Flexbond, or Plasti Dip before painting.
- Rushing the Gluing Process
EVA foam is often glued with contact cement, but it requires patience. Rushing assembly can lead to weak bonds or misaligned parts.
How to avoid: Apply a thin layer of contact cement to both surfaces, wait until it becomes tacky (about 5–10 minutes), then carefully press the parts together. Align once — you won’t get a second chance.
- Ignoring Comfort and Mobility
Armor that looks great but is impossible to wear for more than five minutes isn’t practical.
How to avoid: Consider joint placement, movement, and padding. Add straps, hinges, or velcro for ease of wear, and test-fit frequently during the build. If a piece restricts movement too much, redesign or segment it for flexibility.
- Overcomplicating the First Build
Beginners often attempt overly complex designs too early, leading to burnout or frustration.
How to avoid: Start with a smaller, simpler project. A pair of greaves or a bracer is better for learning than a full chestpiece with horns and LEDs. Build confidence before scaling up.
Final Thoughts
Mistakes are part of the process — they teach you how to improve. But being aware of the most common pitfalls gives you a head start. Our workshops at Fantasy Armor Craft are designed to walk you through each step with live feedback, so you gain skills, avoid frustration, and finish with armor you’re proud of.